I had Monday off this week so I could attend my kids cross country carnival at school. My daughter came second out of the girls and in the combined race with the boys and ended up 7th overall, so only 5 boys beat her. That was a really great effort. My son came equal 16th. The event finished around lunch time, and after helping pack up and having lunch, I went home and adjourned to the shed were I met up with the fencing contractors and completed the installation of the rails for the remaining fence work around the Bonalbo Ballast Siding.
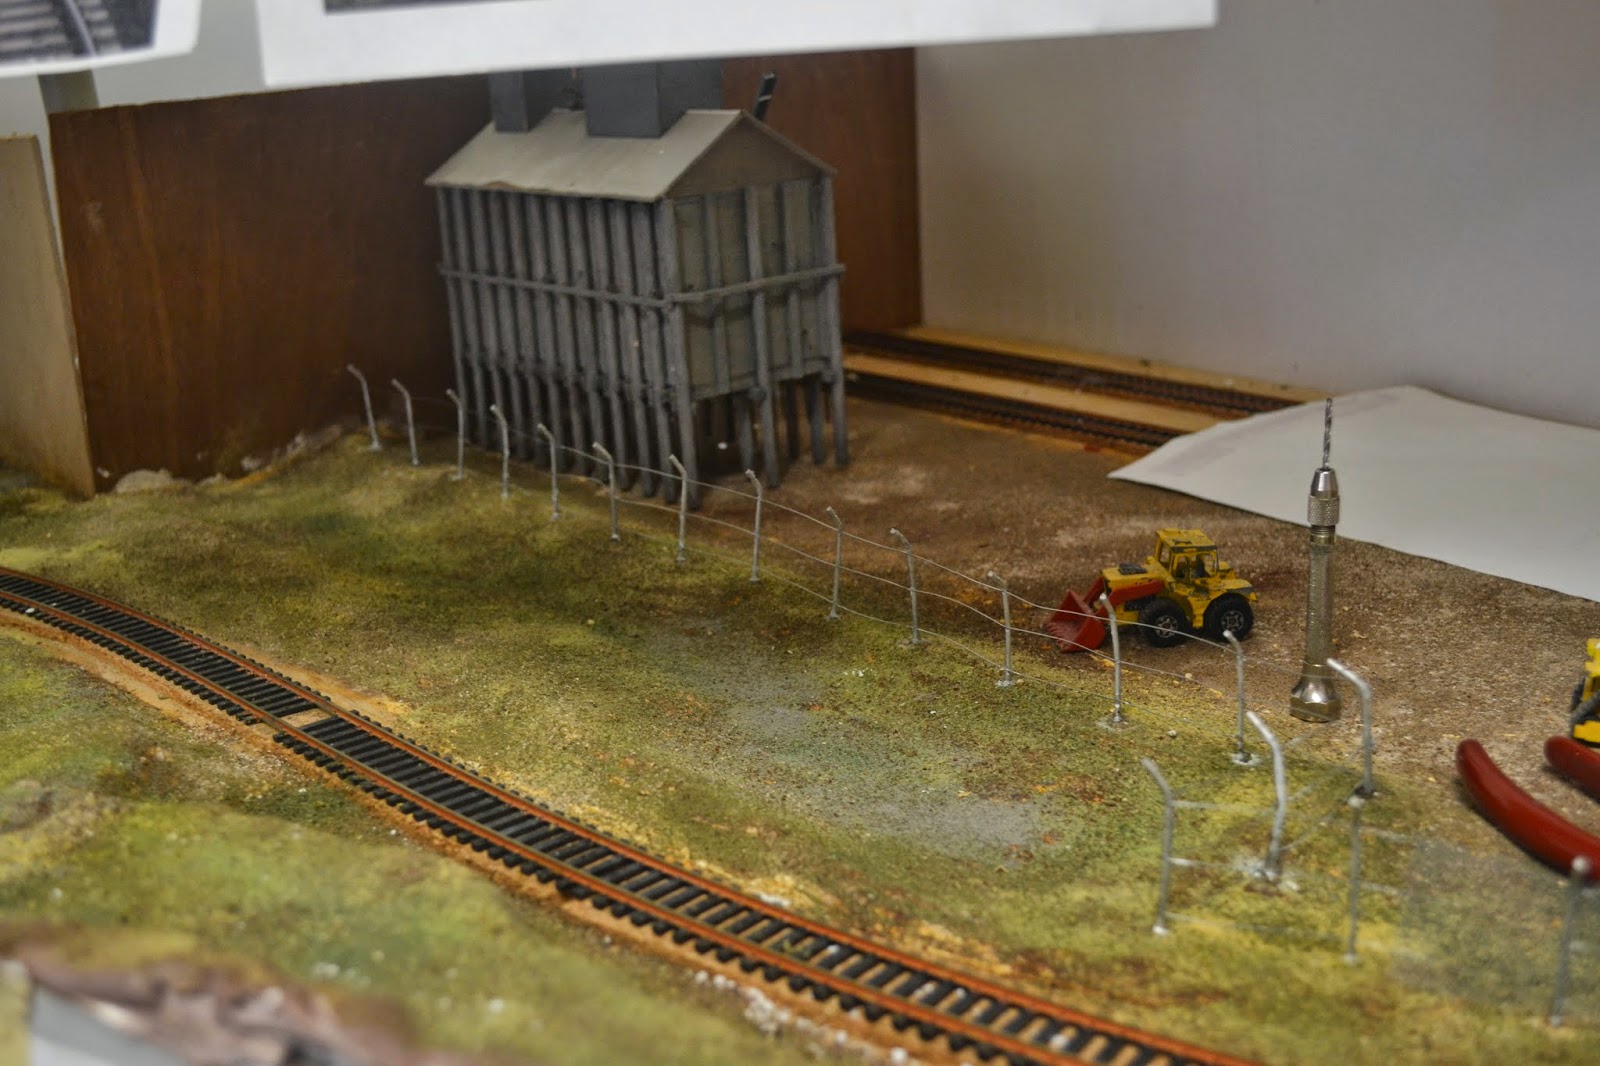
The rails can be seen in place in this photo.
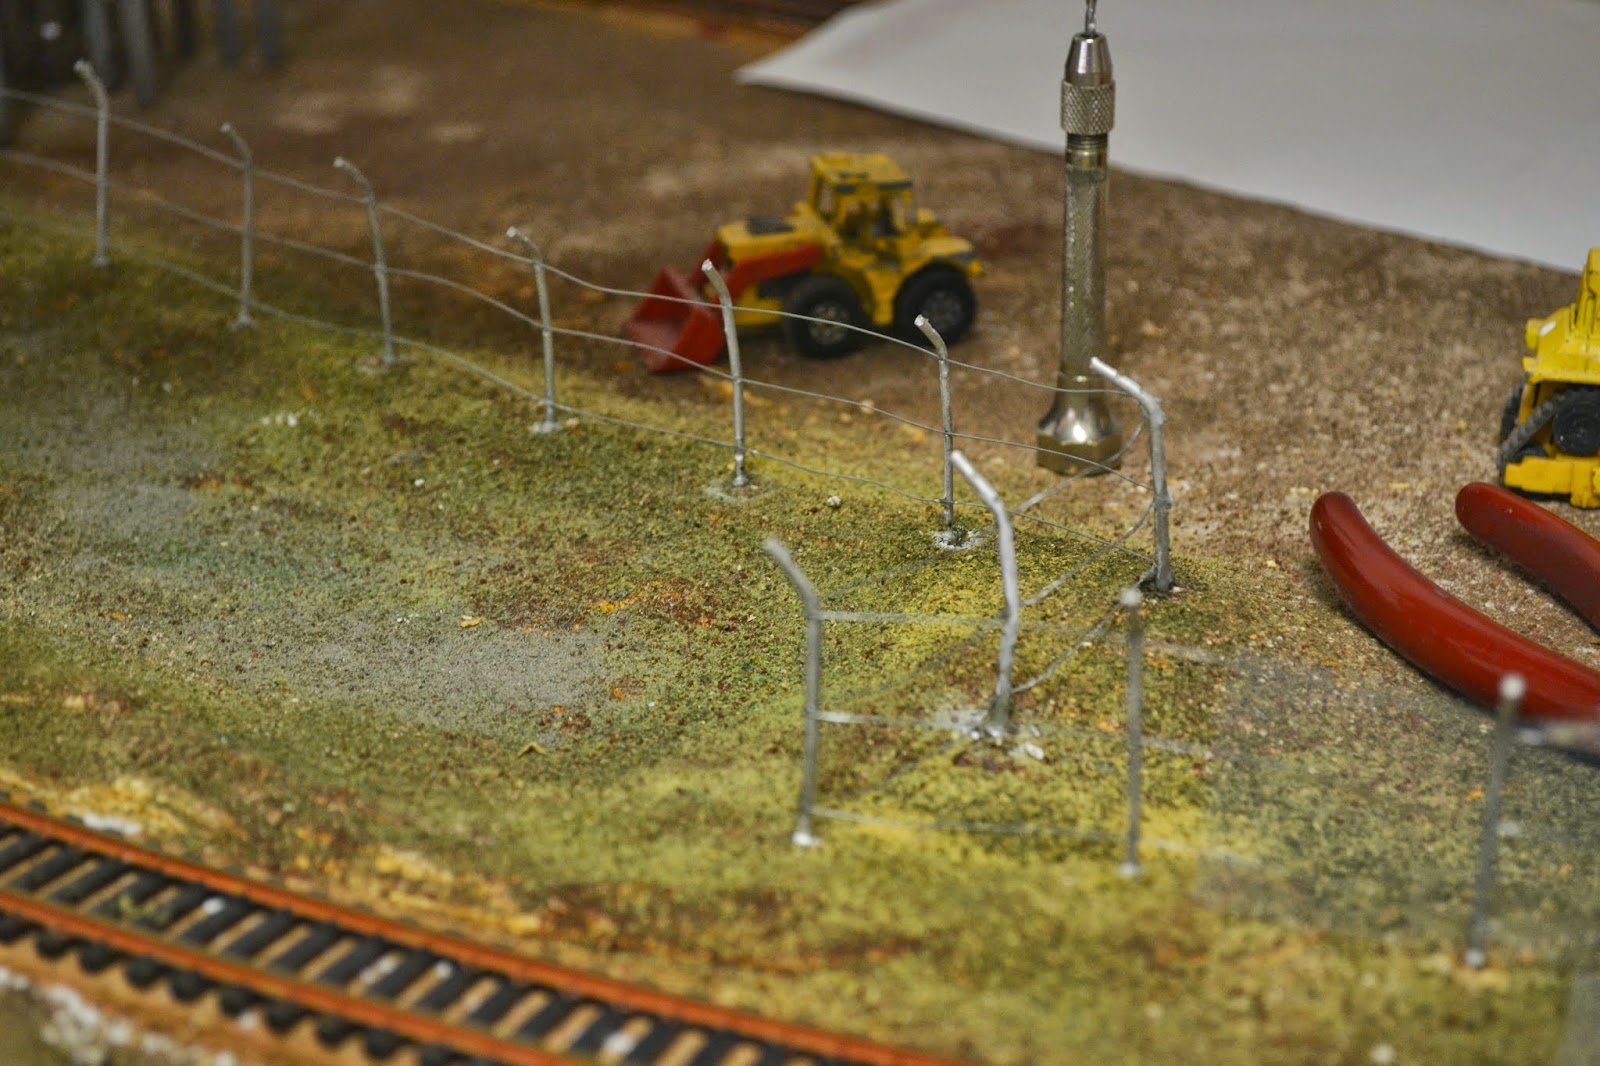
A close up of the dog leg in the fence line and the area to the left of the photo is where the small swamp will be installed.
On Saturday, I got out a new length of tulle and hit it with the grey primer and let it dry. The fencing contractor then glued the wire onto the fence. The last panel has not yet been glued on, because when I paint the backboard I did not want to get paint onto the fence so by not glueing it on, I can bend it out of the way.
The next task was to make up some styrofoam shapes upon which ballast would be poured to make the ballast piles within the ballast compound. But first I had to stick the foam shapes to the ground. White glue was used and then the piles were weighed down with anything that I could lay my hand on.
The ballast piles are being weighed down with anything I could find.
These foam formers were left to dry over night. I did come back a couple of hours later gave a squirt of diluted white glue from my scenery squirt bottle around the edges of the foam formers to assist with their sticking to the baseboard.
I was then in the zone and decided that I could potentially do a bit of scenicing outside the fence so I laid a small amount of ballast outside the fence line of the Ballast Siding. About 40cm was done initially and then I did another 40 cm. This also was left to dry overnight. From the photo above you can see some used plastic honey jars. I use these to store my ballast in. You can adjust the rate of flow of the ballast out of the jar by adjusting the opening of the jar. I think this method of application of ballast works a treat.
So today I got stuck into pouring ballast over the foam formers and then gluing it down. I completed three piles and still have the styrofoam pile that is the furthest from the layout aisle to complete - a job for next week. I then thought I would add a bit more ballast to either side of the length of track I ballasted yesterday outside the siding.
The three completed ballast piles are in the photo as well as the yet to completed pile. You can also see in the left hand foreground the start of my track ballasting.
This is an overview of the ballast siding showing the industry as well as the external track ballasting.
I also then decided to add some scenicing to the area on the down slope of the southern bank of the Richmond River. This was easy and very quick to do.
The slope leading down to the Richmond River. I was thinking of adding s small track down to the water that leads under the first girder and into the background.
It was then that I thought I might add a small amount of detail between the track and ballast siding fence line. Here is where there will be an access road right next to the track. But further along the space gets squeezed, so the trucks doing business here will have to cross over the track from one side to the other. There is still lots of work to do here, like a few trees, some bushes and lots of sticks and leaf litter as well as clumps of grass to provide some three-dimensional affect to the scenery.
I realised that I did not have any sleepers to throw around the track area at the track crossing, so I had to stain up about a dozen sleepers with ink-pad ink in a methylated spirits solution.
The track crossing is visible in this photo. Used sleepers allow the trucks to get over the rails.
As can be seen in the above photo. I still have to ballast the two tracks in the Ballast Siding as well as the area between and behind the tracks. Another job for next week.
So the heavy equipment has moved in and the Ballast Siding is almost ready to receive its revenue train in the coming weeks.


No comments:
Post a Comment