Well I finally fixed the point in Cassino Yard. The wire throw rod had come out of the hole in the actuation bar. So it was replaced. I will need to place a note on the fascia, as this point has a very small throw compared to the leer that is controlling it. I also added a little bit of extra fascia to a section of the helix, that is rather open. That was also given a paint and I think it looks quite good.

I was planning on running some trains on last Saturday, but everyone that I asked had other plans. Mayber I should have asked earlier. So I left my running of trains to occur on Monday this week, as I got distracted last Saturday. I completed about 6 trains and progressed another 4 trains. As of Monday evening, there were currently 4 trains left on the layout, in order to complete the timetable started a couple of years ago. These were completed on Tuesday afternoon. While running trains on that day, I uncovered a power issue in Acacia Ridge yard and fixed it. It was a rail joiner issue. I also have another rail joiner issue on the main line, at Cassino where the Loop line joins the mainline and the track to the Loco branches off, right next to the Cassino Signal box. So I fixed that on Tuesday afternoon.
I’m also making a list of other things to complete, before my open day in June for our Div 1 crew and other visitors rock up for the August Convention open house.
The last few trains were run to completion on Tuesday. I was missing a loco. I found it upstairs. I put it on the programming track and it started to cook the decoder. Whoops! I will buy a replacement one when I visit the Club in a couple of weeks. One other loco that I was tinkering with was running very slowly. So on Wednesday I took it apart and gave it a bit of an oil. It seems to be running a lot better. I found that one of the wires off one bogie needed to be re-soldered as well. So that was also done.
I decided to pull out my 81 class loco from storage and get into fixing its lighting connections. I could find any decoder manuals online. I tested some of the lights with a 3V battery so I know what to connect up, but I just don’t know where to connect it to. I looked inside the 81 class shell and worked out that the light boards for the headlights and number boards were screwed in. This gave me an idea. So I unscrewed them and pulled out the light boards. I tested them with a 3V battery power supply. The LEDs on these boards were wired back to front. They had a common negative, instead of a common positive, so I could not control them from my decoder. So I removed the LED’s from the light boards. Luckily I had some (I think they were 0804) LEDs the same size as the ones I butchered trying to remove them from the light boards. But I reversed the LEDs. I tested them and they worked. I connected them up and I had working headlights and #1 end number boards. I had nothing connected to the number # end number boards. I thought I was missing a wire connection point somewhere on the decoder.
I posted on the NCE-DCC GroupsIO forum for assistance, and got a response. Thank you very much Terry! I then did a second take at my decoder and I found out that I had connected up a wire to output 4 on the decoder. But given that there was 365,000 wires inside the loco, I did not realise that it did not lead anywhere. I traced the wire and found it just ending. So I wired it up to the wire from the #2 end wire coming from the number boards. Wouldn’t you know these now worked. This deserves an extra great big Doh! I started wiring this loco 10 years ago. I did some testing and it runs well. The lights also work. I then had to find the KD’s that were to be re-installed into the loco along with the KD cover and the screws. I had no hope. But I had some items that looked OK. So they were installed and the loco in now in my fleet.

Now I am just waiting for my 2mm x 1mm magnets to turn up in the post. I’m also waiting for some SPDT switches to turn up as well. Next week, will be trying to fit the roof of the Cassino Station building, using the magnets to make it sit down tightly on the frame and then I will wire up the platform lights for Cassino.
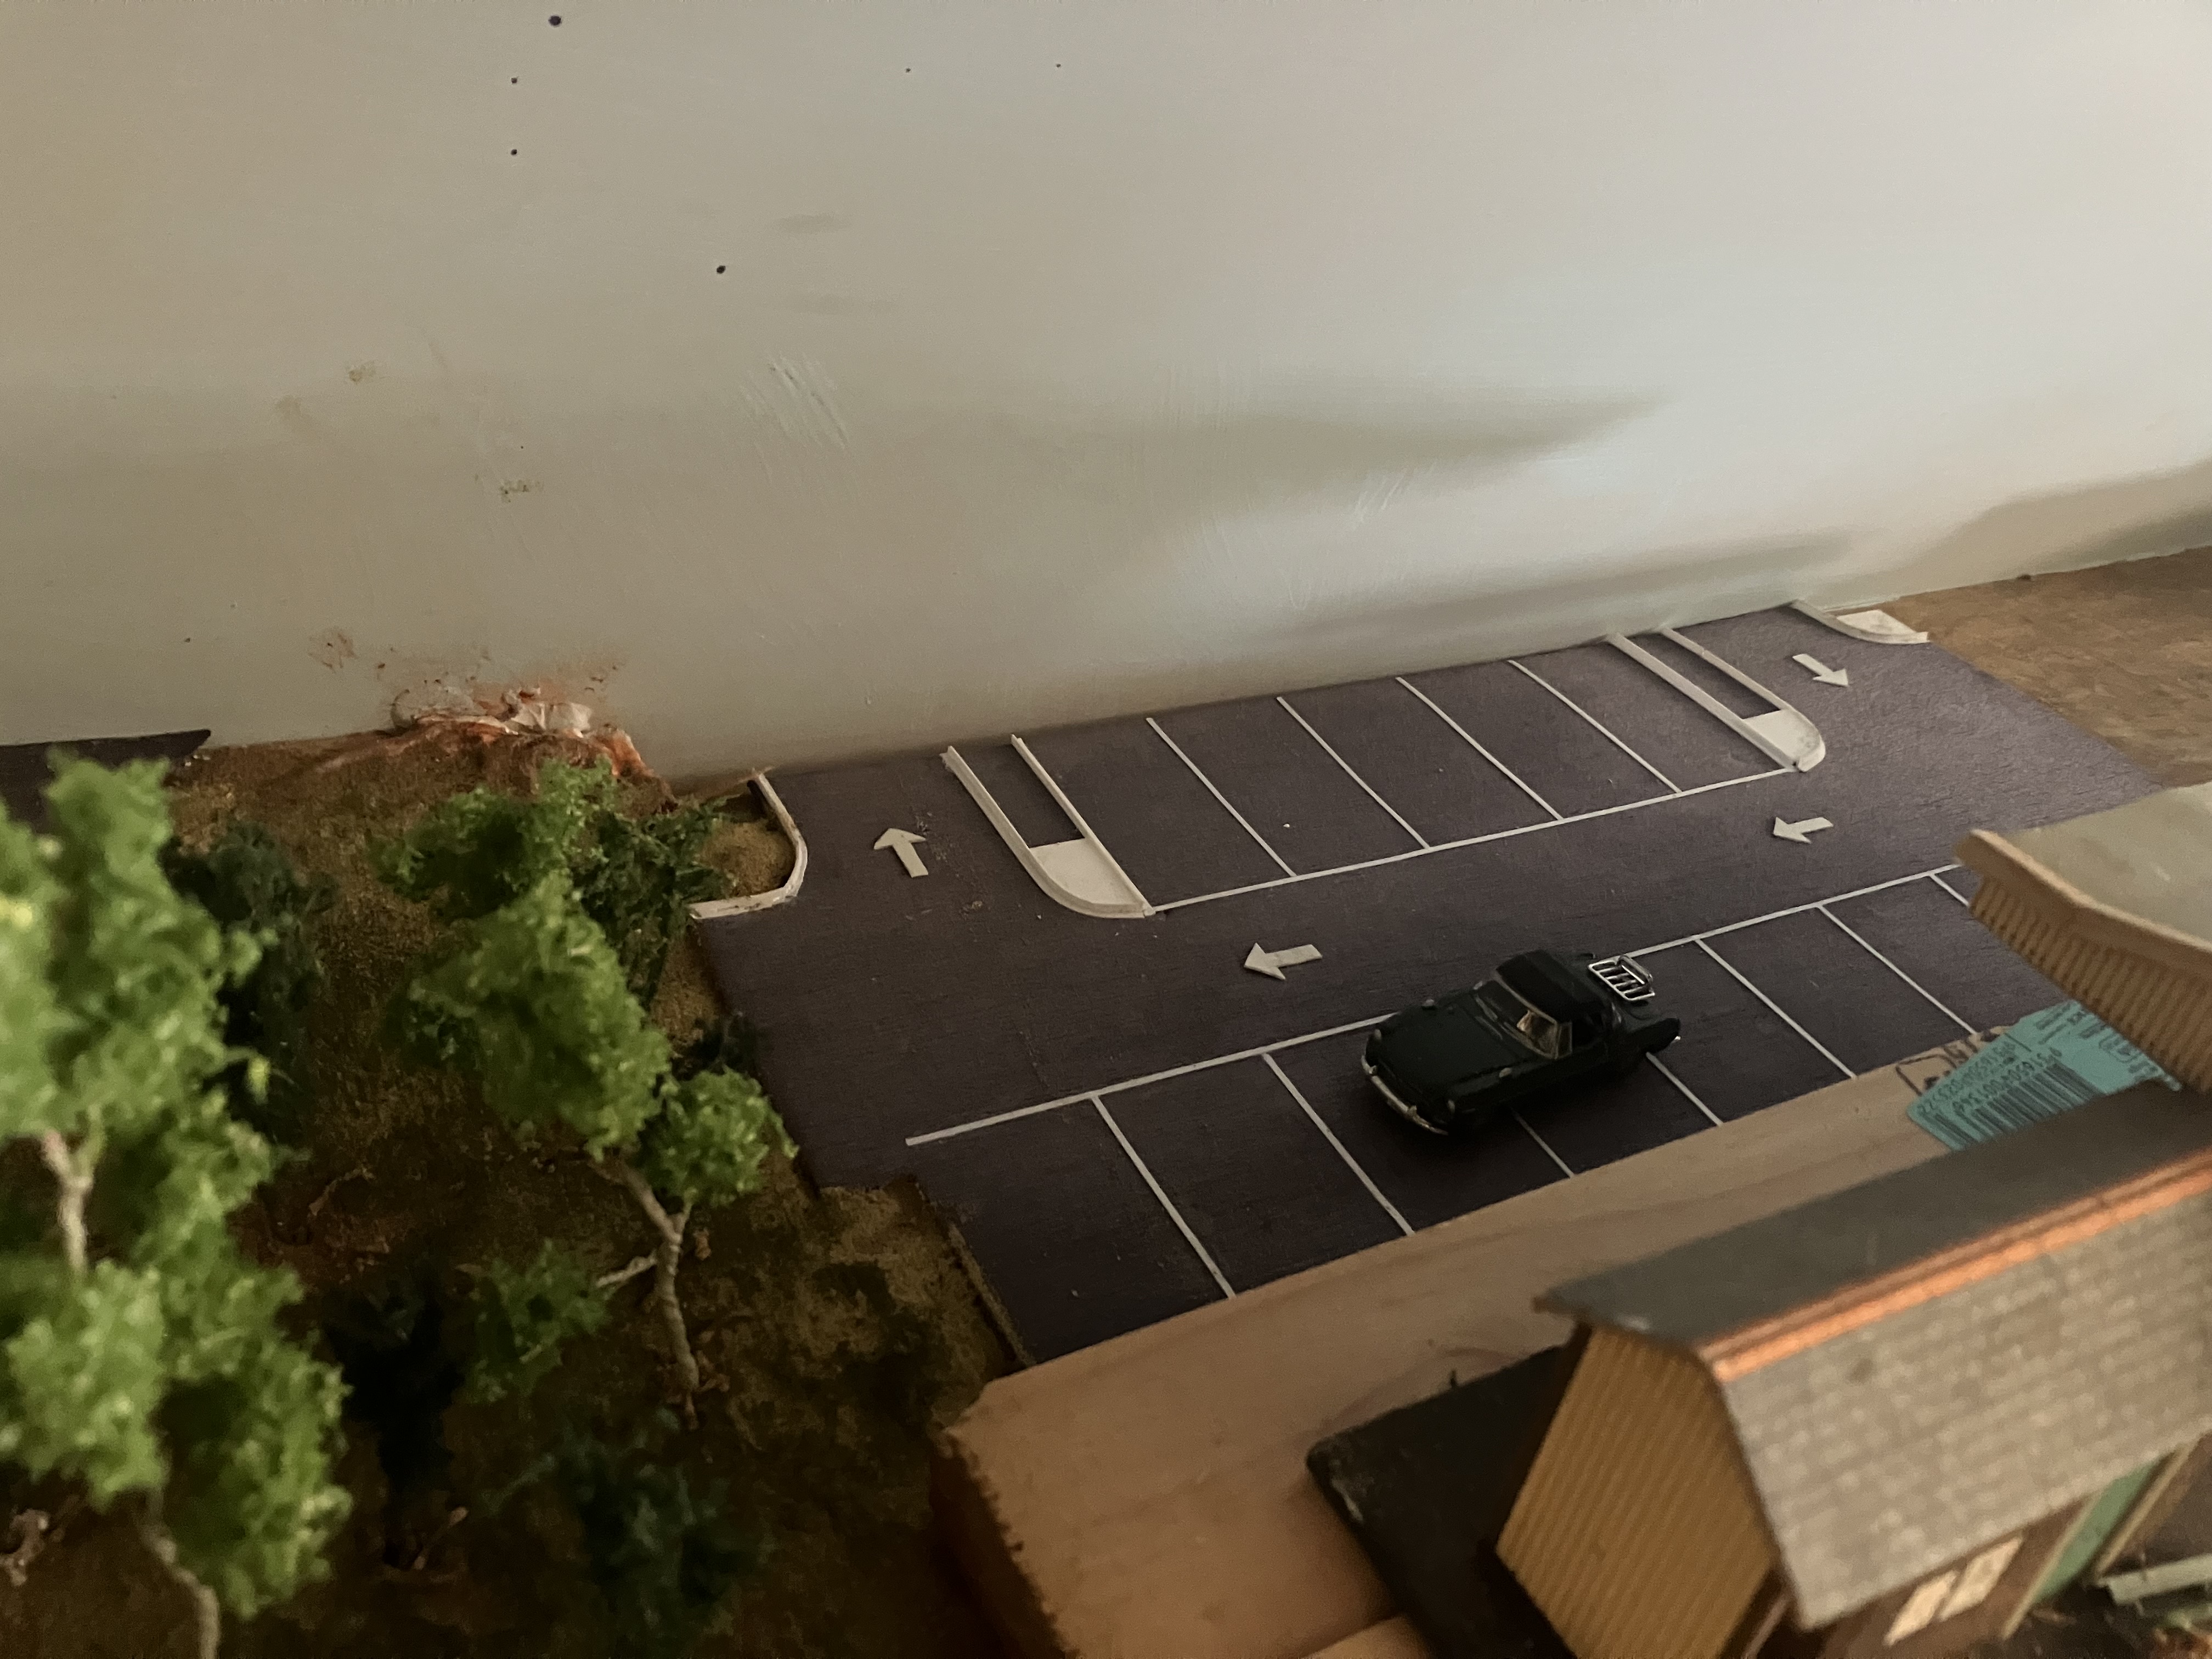
Today I had some more clean up jobs to do. I made a slight change to a timetable car with additional text. I also had an issue last time I ran trains that the control panel at Acacia Ridge that controls the fan out of all the point coming into Acacia Ridge Yard from the south was not working. I thought I would have to climb under the layout and do some wire tracking to find the two Digitrax DS64 that controls these points. But I tested them this morning and all is working. Maybe there was some dampness is the air and caused it not to work. I also got around to re-charging my Android phone to test my layout wifi. Every time that Marty character rocks up, his dodgy wifi throttle has issues. I successfully controlled a loco from every location in the shed, facing in all directions, at these locations. Maybe the wifi signal struggles to penetrate Marty! I had also looked at the RJ12 connections to the Wifi-Trax device, and connected and unconnected these a few times in case there was a bad connection here. So it seems all OK now.
Also today I was thinking about my timetable, when it dawned on me that there was one train that was not in its correct starting place for the next timetable. My tamper was sitting at Acacia Ridge Yard track 4. It should have been in the Construction Siding at Old Cassino. So I gave it a run from Acacia Ridge to Old Cassino. That was about a 20 minute run. This vehicle does not go very fast.

I am also looking at doing a test run of the narrow gauge timetable for the first 12 narrow gauge trains. If I can do this before Friday I might be able to permanently include these trains in the timetable. I’m sure there will need to be some adjustment to the timetable graph as there is now separate tracks (standard gauge and narrow gauge) from Clapham Yard to Dutton Park, Dutton Park to Fisherman Islands, and from Dutton Park to South Brisbane. There are also a couple of extra narrow gauge locations to be included certainly on the narrow gauge timetable cards. This should be quite easy as I will just create a different layout for the narrow gauge timetable cards.